|
|
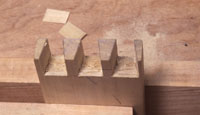
Now
is the moment of truth. Clamp your pins in a vise and tap down the
tails with a mallet. I always use a piece of scrap to make sure I
tap evenly and protect the work from dents. If your layout and sawing
was accurate, the pieces should just tap together. But don't force
it. If the parts get stuck, take them apart and pare away any interference.
Be careful of the visible edges. If you have a gap, don't worry too
much about it. You can always fill it with veneer (be sure to match
the grain direction). Watch for small splits occuring usually at the
edge of a joint, especially at the ends of the tails. This happens
if the joint is too tight. |
|
|
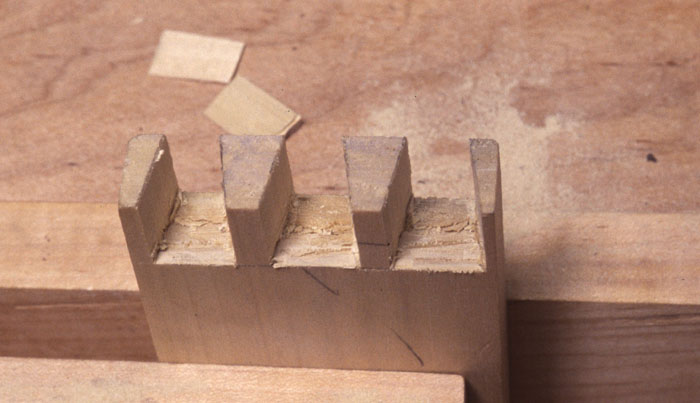
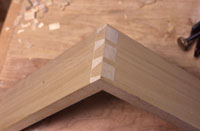
In
this particular case, one of the tails was a little tight and a split
started. Paring along edge of the tail took off just enough so that
the wood came together properly. Sometimes you can tell by the sound
of the joint when you tap on it if it's too tight or loose. Wear marks
on the joint when you take it apart are another giveaway. You can
see in this picture there are little bits of wood in the corners of
the pins that must yet be pared away before the joint can be malleted
closed. |
|
|
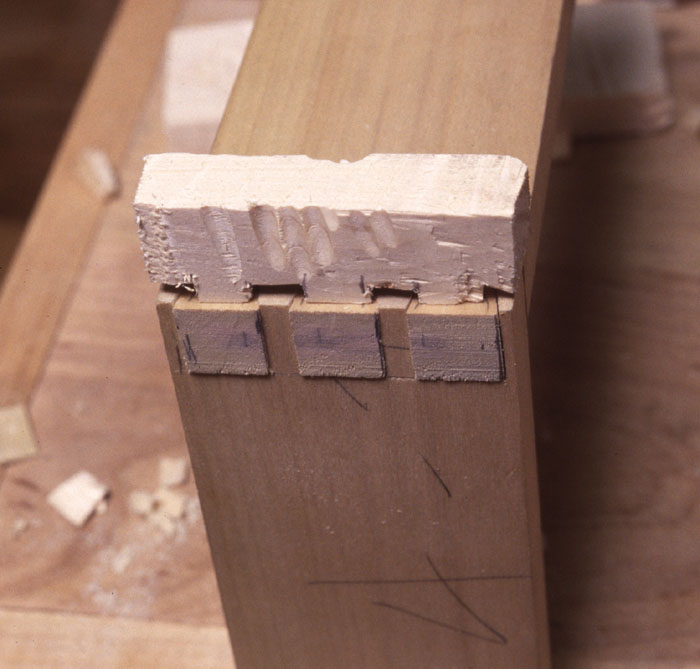
Glue-up:
Finally,
glue up the joint and let it dry. When you glue up, remember that
the joints are cut slightly deeper than the thickness of the wood
so you have to put pressure on the joint to press the pins below
the surface of the tails. The simplest way to do this is to take
a scrap of wood and cut it away where the pins are so that when
you clamp down, the pressure is all on the tails. When you clamp
the joint, check for squareness. It is easy to be see that the joint
is closed up and forget that the insides might be open. So check
that the tails are totally down in their sockets and that the work
is square before the glue sets up.
|
|
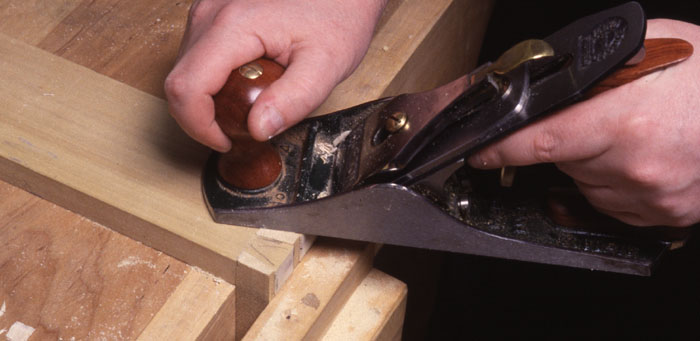
Planing
flush:
When
the joint is fully dry, the fastest and easiest way to finish it
is by planing the protruding pins and tails flush, or by using a
sander.
|
|
|
Finished!
|
|
|
|