|
|
07/26/2017 |
When I was first studying woodworking, I was taught that the Ancients (any cabinetmaker in the 18th or 19th centuries, but mostly the 18th century) would use really narrow pins as a decorative touch and also to show off their skill.
In the 1990s it became fashionable to use a fret saw to remove the waste between tails. This led me to the following questions:
Did anyone use fret saws in the 18th century to remove waste between tails?
Is there another reason for narrow pins?
Some baseline facts that would argue against the idea that fretsaws were traditionally used to remove waste:
In the 18th and early 19th centuries, fretsaw blades were hand made, usually by the craftsman using them. Marquetry and inlay makers started the day by making a blade. It would make no sense for a run-of-the-mill apprentice cabinetmaker to use a fragile, hand-made fret saw blade to remove waste. Moreover, blind dovetails, which of course are very common on drawers and things, do not lend themselves to having the waste sawn out.
No matter how you remove your waste, you want a clean chiseled baseline. The main reason for removing the waste with a saw is so that afterwards you can just put your chisel on the scribe line and push. The chisel will cut true and perfect. If you don't saw out the waste (with a fret or coping saw), when you chisel straight down on the scribe line, the mass of wood behind the bevel will push the chisel forward and past the scribe line. I was taught a simple and elegant solution: just start chiseling a hair in front of the scribe line and then stop when the chisels moves onto the scribe line.
I should note that I don't have anything against using a fret or coping saw to remove waste. But I am postulating is that in the 18th century it doesn't seem likely that this was done. Times of course have really changed. Today we not only have inexpensive fret saw blades that work well in thicker wood, we also have flush toilets and the option to use both modern conveniences, or one, or neither: it's up to you.
If you chisel your waste out and you use narrow pins, the narrowness is dictated by the smallest chisel you own. Since there are many examples of dovetails with pins that taper to a point, it is hard to believe that chiseling out was practical. Also, if you have ever tried it when the pin was narrow, you know that the waste just clogs up the space. It wedges in place and makes the task a slog.
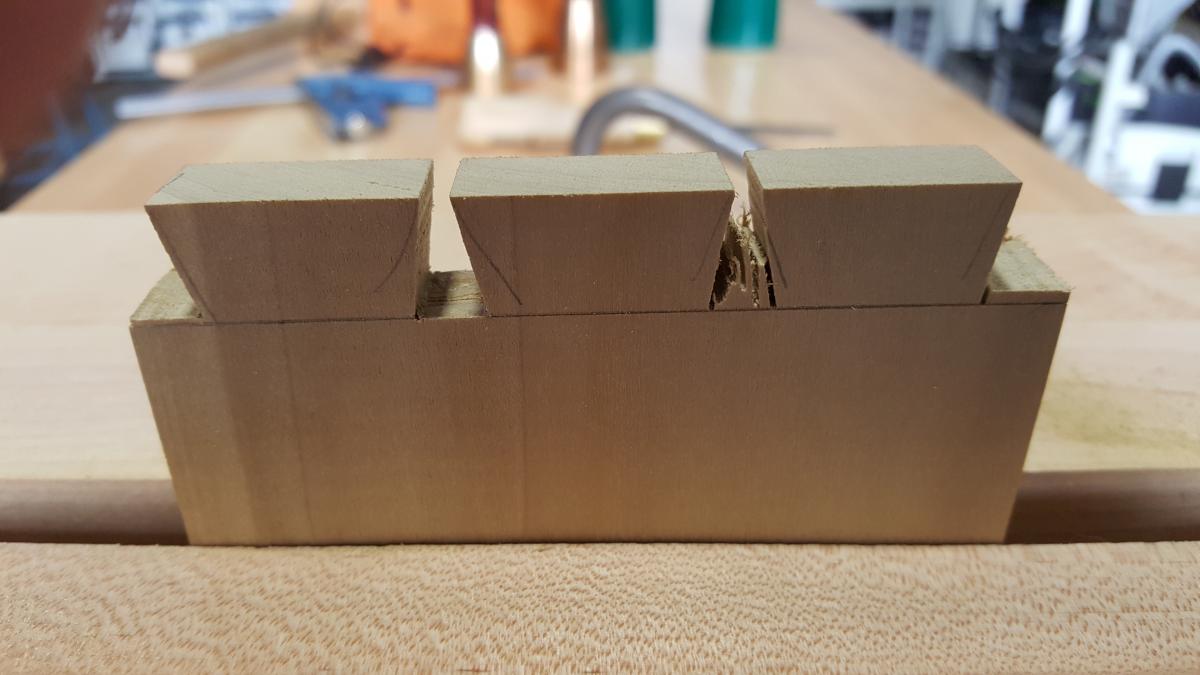
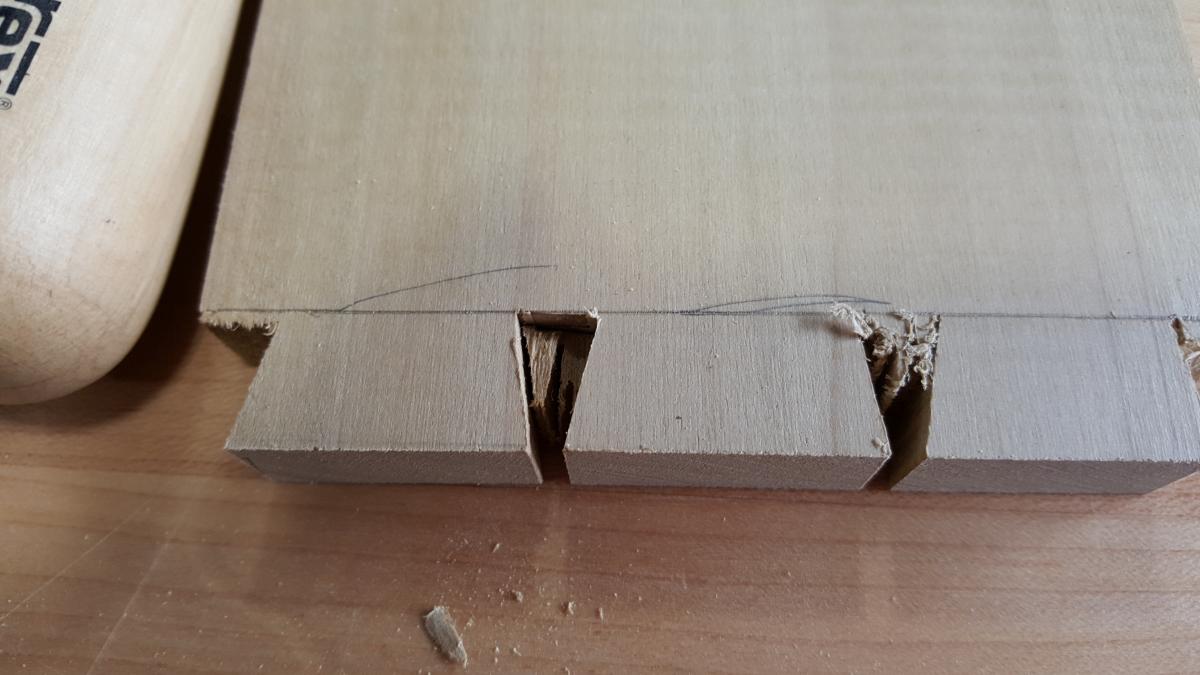
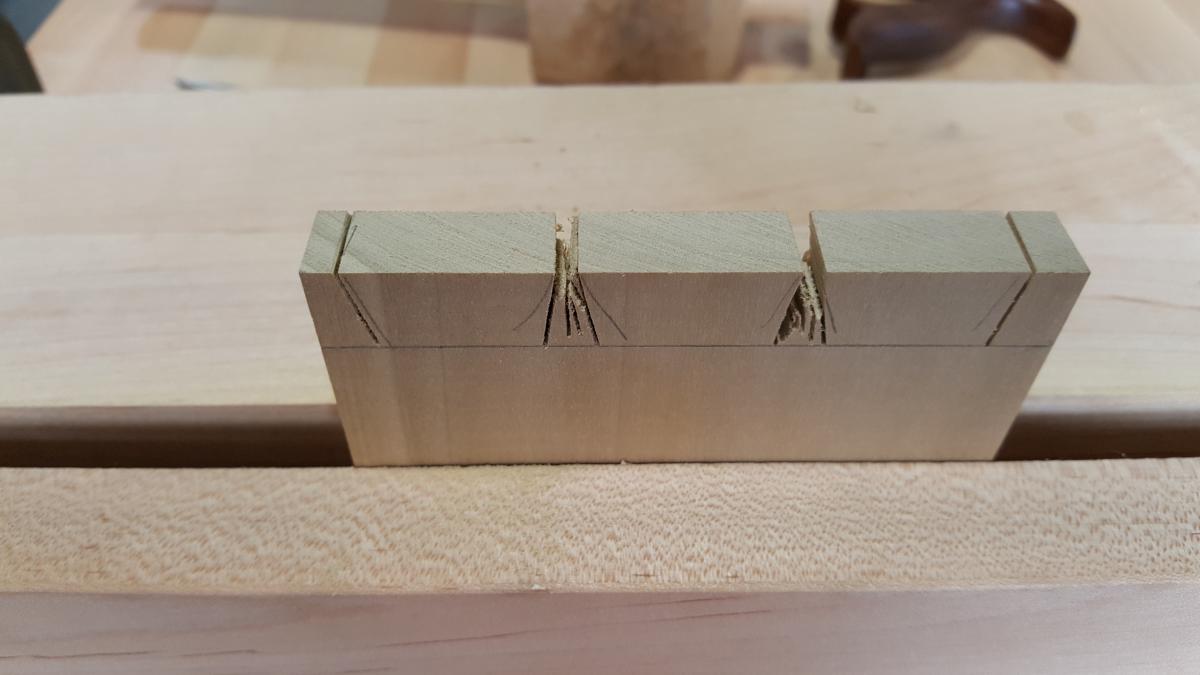
Here is what I have been doing for the past couple of years: After I cut the tails out, I waste out the material between the tails by sawing straight down with my dovetail saw. This quickly clears enough material so that chiseling to the scribe line is easy. I need just two tools - a saw and one narrow chisel.
On soft wood, a thicker, less expensive saw works very well. You just clear the waste in fewer strokes - just the thing for an apprentice. But as one works in harder wood, the thinner kerf is easier and faster to push accurately and makes more sense.
As far as I know, there isn't a historical record to prove or disprove my theory, although maybe this blog will shake some informed comments. I do know, however, that this method is FAST. For a professional 18th century cabinetmaker, especially an apprentice grinding out drawers, it's efficient.
With narrow pins, you get wide tails. Drawers are mostly blind dovetails - you can't saw them anyway - but it's a lot faster to have narrow pins and wide tails than it is to have even sized pins and tails, because the pins get wasted away with the saw cuts. It's just as much work to remove the waste to fit a wide tail as it is to remove the waste to fit a narrow tail. You just need a wide chisel to match.
A few blogs ago I promised a class in hand tools. Two sessions of my dovetailing class are now on the event schedule. My goal is to teach hand tool usage as a practical thing, not magic. The tools we will use are very, very simple. I'm not trying to show you how you can make one prefect dovetail given enough time and equipment; I'm trying to show you that training your hands to cut straight isn't that hard. It's just like any sport that requires hand-eye coordination. We start at the bottom, and develop hand skill via a combination of simple technique, feedback on what we are actually doing, and practice. My goal is that by the end of the class every student will be producing credible work and be on the road to do greater and more complex work as their skills mature. Just in time for their 18th century apprenticeship.
Update: Class has already been held.
|
Join the conversation |
|


 Joel's Blog
 Built-It Blog
 Video Roundup
 Classes & Events
 Work Magazine
Many thanks!