When you first mount a wheel on your grinder, the first thing to do is make sure the wheel makes a nice ringing sound when tapped. Tap the wheel gently with a handy bit of steel; it should ring with a fairly bright sound. If there is a defect in the wheel, you won't get a clear tone. Now to be fair, in general modern wheels are very safe, and it's rare that you will get a dud. I certainly have never had that misfortune. I only use new wheels from a reputable manufacturer. An old wheel from Ebay; a Brand X wheel; or a wheel that comes without protective packaging would all be far more susceptible to failure. If you don't get a clear ring when you tap the wheel, do not use the wheel.
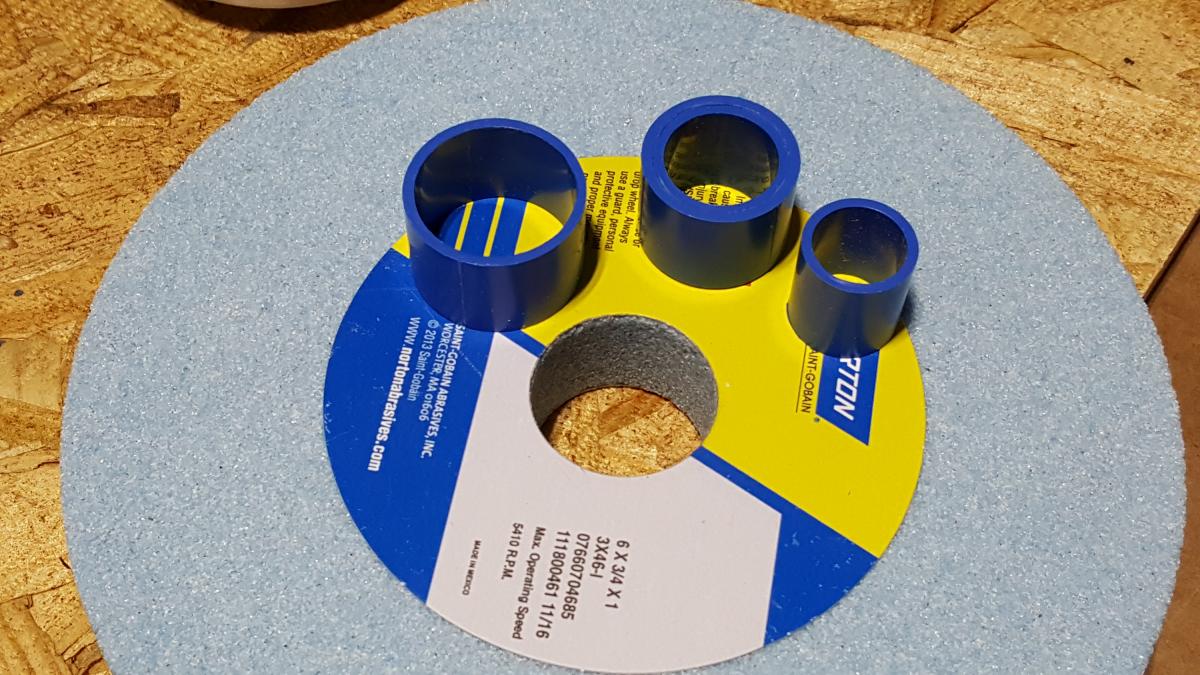
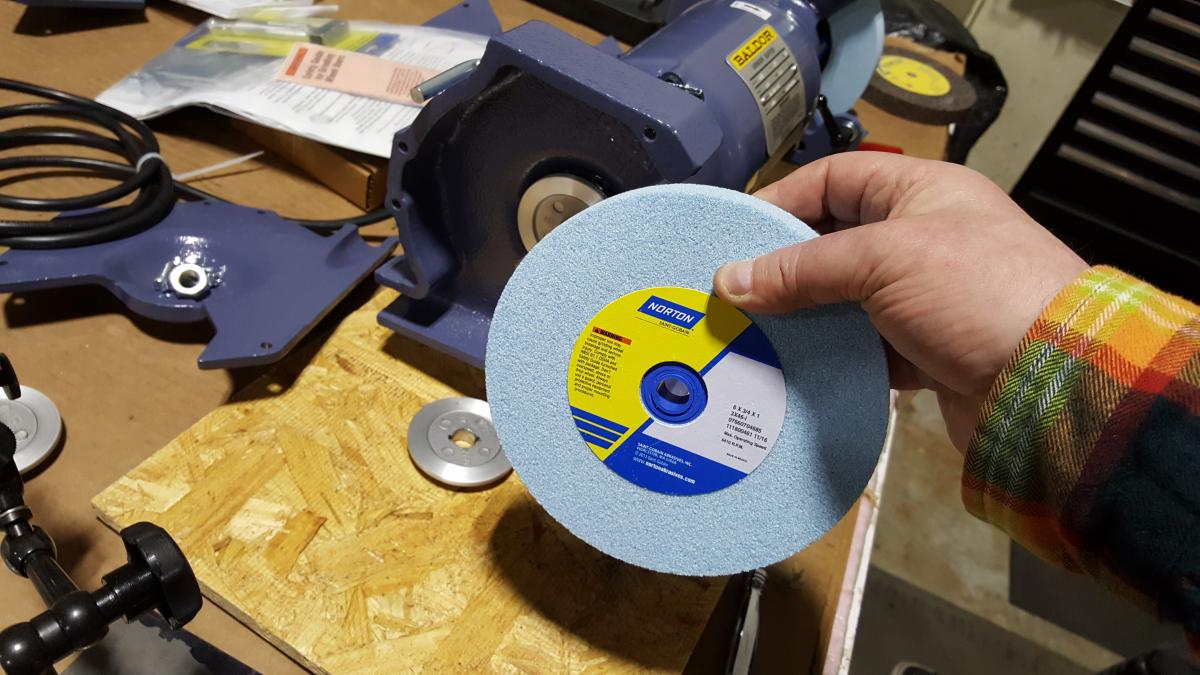
You want make sure that the wheel is the correct bore for your spindle. In the case of these 3X wheels, Norton supplies plastic bushing so that the wheel will fit a variety of spindle diameters. There still is a little slop, but not much - it largely doesn't matter. When you clamp the wheel in the grinder (unplug the grinder first, of course), the wheel is sandwiched between two flanges. On either side of the wheel is a cardboard washer. In this case, the washer is glued to the wheel and contains branding. These washers are very important. Clamping between cardboard takes up any minor irregularities in the flanges or wheel and prevents a minor unevenness in the wheel from causing the wheel to crack when clamped up.
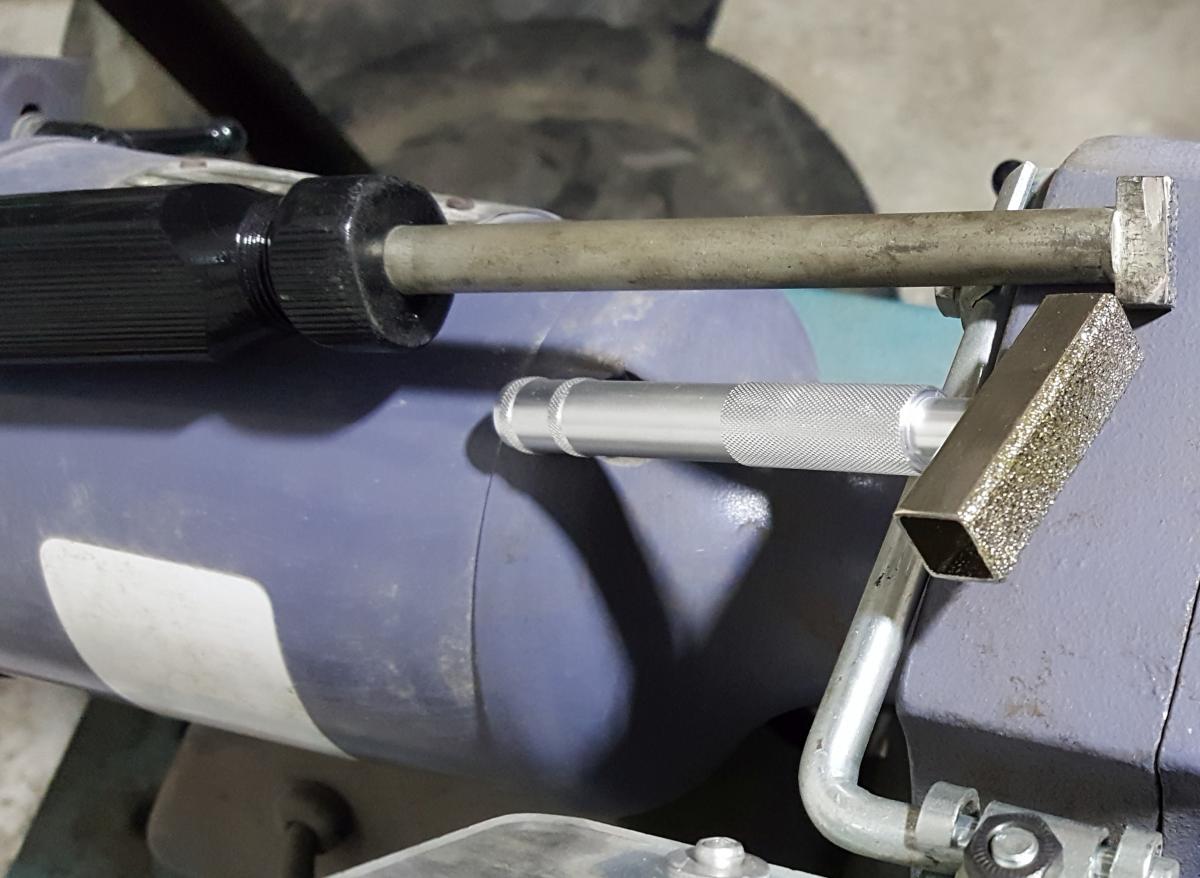
A couple of multi-point diamond wheel dressersWhen you first get a new wheel or if you are seeking the best performance from a wheel you already have, dressing the wheel is vital. Inevitably the wheel will not sit perfectly on the spindle. If it's mounted slightly off center, dress the wheel to make it centered. This step is important for the wheel to run smoothly. I know some vendors sell balancing kits, but I have never needed one. I am also going to set the rest approximately square to the wheel and fairly close to the wheel. Square because I want the dresser to approach the wheel square, and fairly close because I want to avoid any chances for the dresser (or anything) to get caught in the gaps between moving wheel and rest. After checking that my rest is clamped solid and the wheel can rotate freely by hand, I will lower the guard, put on my eye protection, and turn on the grinder.
Whenever I turn on a grinder I step aside as it comes up to speed and runs for a few seconds. The reason is that just in case there is a flaw in the wheel, or a chip got knocked out, or something is caught in the guards, I would rather not be in the line of fire if disaster happens.
For a new wheel, I want to hold my dresser firmly against the rest and push it forward to contact the wheel. As long as my dresser is held steady against the rest, any high or low spots on the wheel will get dressed off. Don't clamp it; you need to be able to move it forward, and your hand pressure is more than enough. In a few seconds the wheel will be tracking round and round and run smoothly. You might notice a wobble from left to right as the wheel rotates. There are two possible reasons for this. The first (and more common reason) is that the flanges aren't flat. Baldor and many other makers don't machine their flanges, they just die-cast them. We have seen plenty of wobbly flanges over the years, so one hop-up we do on our custom grinders is to machine the flanges. Cast flanges can result in wheel wobble. (We do not sell cast flanges.) A little left-to-right wobble is no big deal. Don't worry about it. DO NOT under any circumstances try to dress the sides of the wheel. Wheels aren't designed for that. They could explode. In any event you will probably make the matter worse. If you encounter a lot of vibrations, a lot of wobble, it could be caused by a uneven, poorly made wheel. In that case return it. There is no way to fix that.
Once the wheel is dressed round you can lighten up on the pressure on the rest.
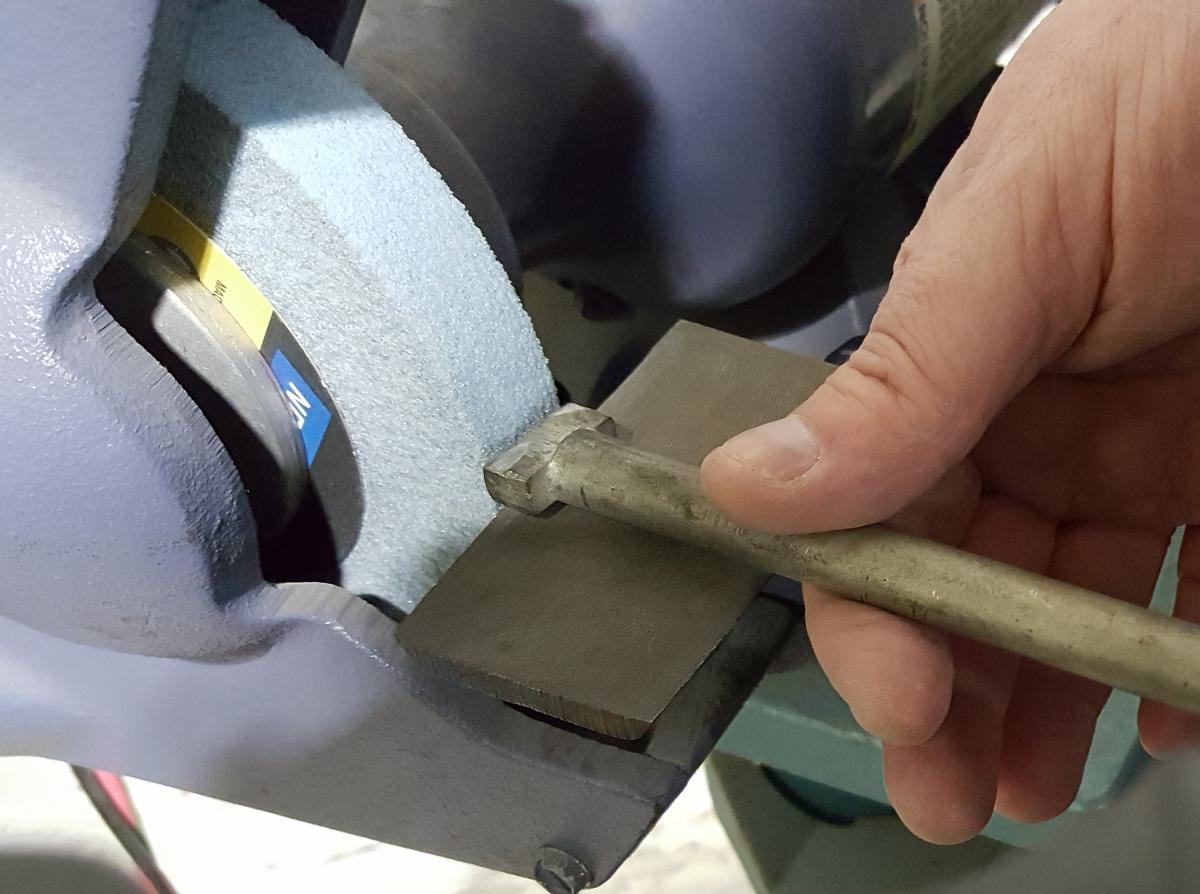
We now want to dress the smallest of convexity, or crown, into the wheel. With a convexity we can be assured that every time to touch a tool to the wheel we are making contact somewhere in the center of the tool. If your wheel is straight, and your tool is basically straight, the wheel face will always contact the tool at one side or another -- unless your blade is 100% square to wheel, which is nearly impossible to do freehand. With a convex wheel you don't have to grind the corners of your tool until you have ground the middle, which is safer. In the middle of the tool, heat from grinding can go towards both sides and back into the body of the tool. At a corner, heat can't escape at one side, which will rapidly cause a corner to overheat and burn. With a convex wheel you have a controlled point of contact and as you feed the tool into the wheel, you get more and more contact - you aren't grinding just at that point on the wheel. We will go into this in the next chapter when we actually grind a tool. For now, suffice it to say that we need to is put the smallest convexity we can on the wheel.
My process of dressing the wheel: Turn on the grinder, wait until it comes up to speed, and then touch my dresser to the wheel and move it in a very wide arc across the wheel. While doing this, I eyeball everything. The basic step is contact the wheel in the center with the dresser, and then swing it around to either side. As you can see in the video, the process takes about 10 seconds.
With dressing done, we are now ready to grind. I repeat the dressing process just about every time I grind -- and whenever I think the wheel seems to be heating up too fast. Of course CBN wheels never need to be dressed and the wheels we stock have the crown built in.
Next time we are going to set the rest to the right angle and refresh the hollow on a tool.
A wheel properly dressed to a very slight convexity.
Join the conversation
01/25/2017 Ian McLennan
Reading this makes me even happier that I chose a Tormek. Safe, clean, easy to use and extremely versatile. Well worth the extra money and very kind to my
valuable edge tools. Grinding out nicks, reshaping, etc, does take a bit longer, but I seldom need to do that.
01/25/2017 Eric Rusch
Excellent series of articles Joe.
Thanks very much.
01/25/2017 HKimsey
Nice summary and lots of useful information! Thank you!
02/15/2017 Rishi Sharma
Thank you for this amazing blog. Nice summary of using grinding machine.


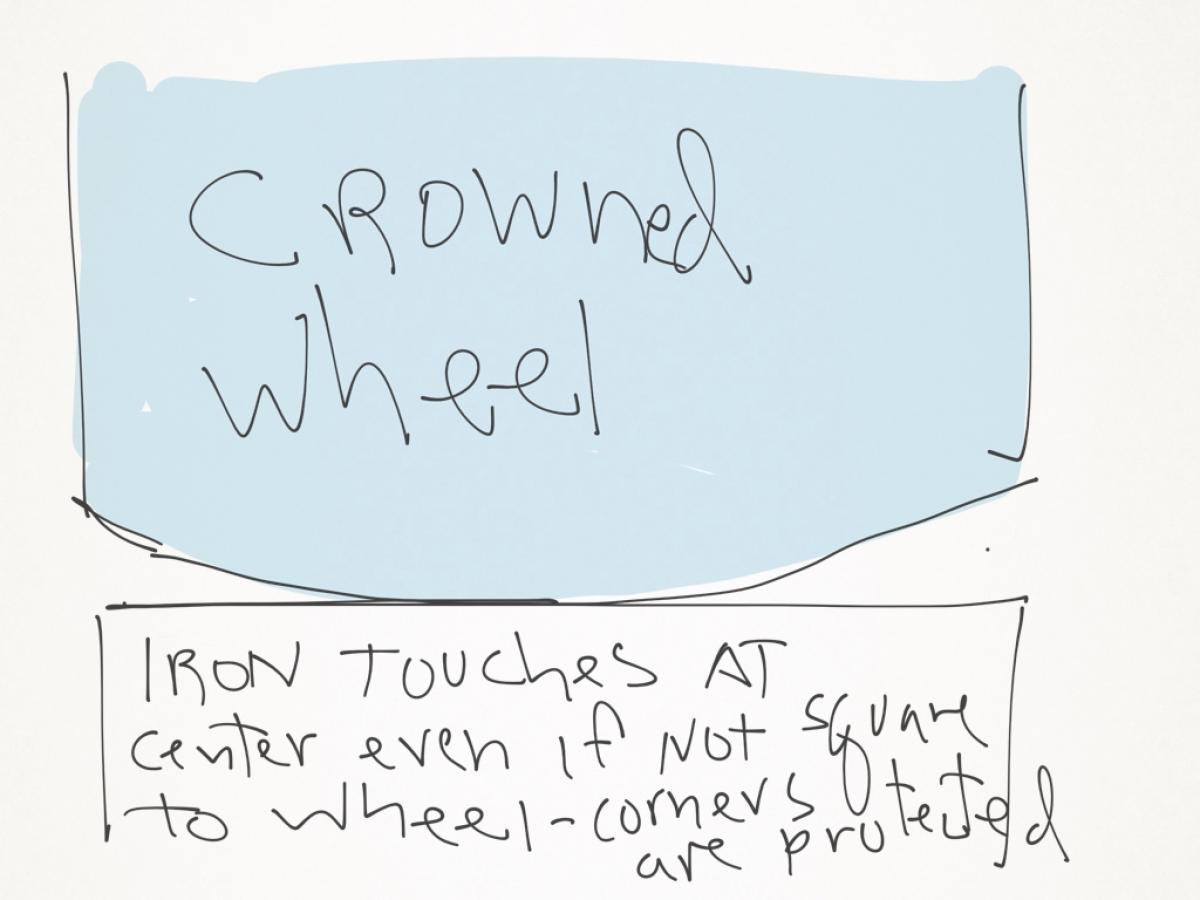 We now want to dress the smallest of convexity, or crown, into the wheel. With a convexity we can be assured that every time to touch a tool to the wheel we are making contact somewhere in the center of the tool. If your wheel is straight, and your tool is basically straight, the wheel face will always contact the tool at one side or another -- unless your blade is 100% square to wheel, which is nearly impossible to do freehand. With a convex wheel you don't have to grind the corners of your tool until you have ground the middle, which is safer. In the middle of the tool, heat from grinding can go towards both sides and back into the body of the tool. At a corner, heat can't escape at one side, which will rapidly cause a corner to overheat and burn. With a convex wheel you have a controlled point of contact and as you feed the tool into the wheel, you get more and more contact - you aren't grinding just at that point on the wheel. We will go into this in the next chapter when we actually grind a tool. For now, suffice it to say that we need to is put the smallest convexity we can on the wheel.
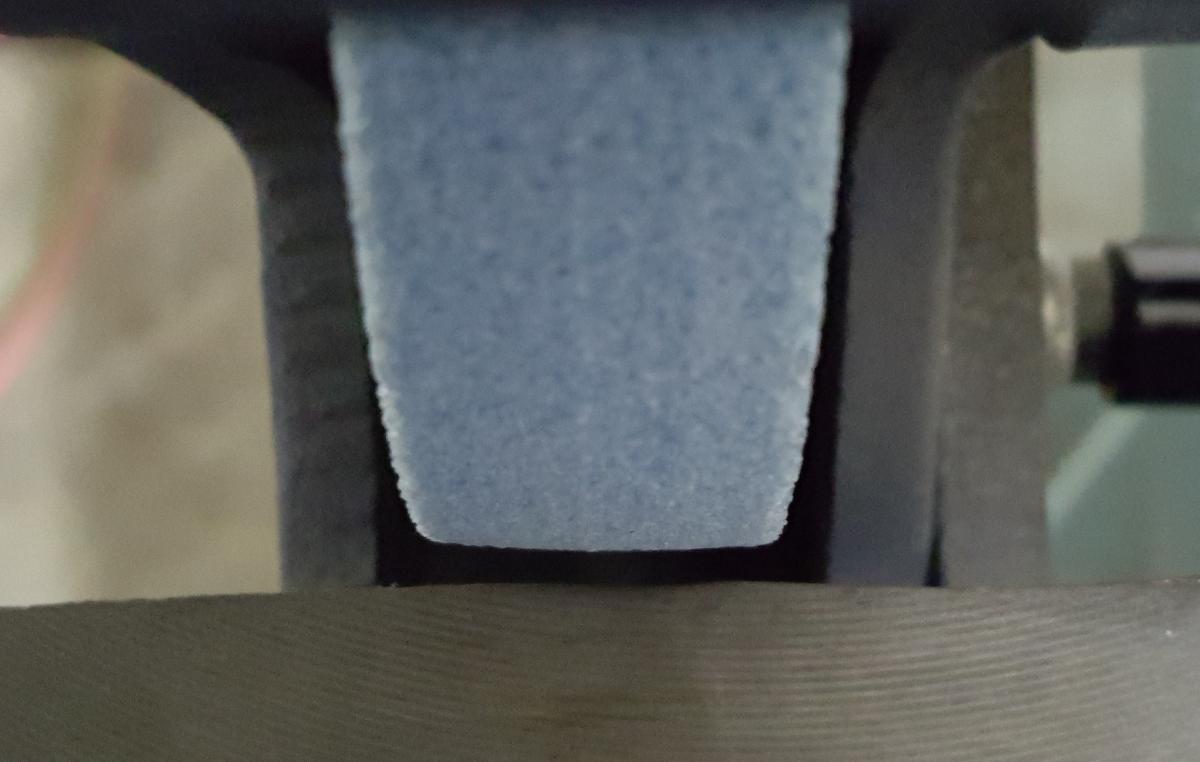
 Joel's Blog
 Built-It Blog
 Video Roundup
 Classes & Events
 Work Magazine
valuable edge tools. Grinding out nicks, reshaping, etc, does take a bit longer, but I seldom need to do that.
Thanks very much.