I was wandering around the Metropolitan Museum of Art when it occurred to me: nothing much has changed over the millennia.
Before the mid-seventeenth century, steel was not common. Craftsmen had a choice between expensive tools made of blister steel and iron tools that were case hardened to get a steel skin over an iron core. Moxon, writing in 1678, cautions the woodworker buying a saw to ensure that they buy one made of steel, not iron, because the steel ones were vastly superior. In the centuries before Moxon the situation was worse. Iron tools, bronze tools, crappy case hardened tools: none hold much of an edge. So it is quite obvious that pre-steel craftsmen were unable to build much of anything.
Just kidding.
The expression "A poor workman finds fault with the tools" is well known. The inverse situation comes to mind when considering the many superb Medieval (and earlier) craft works. How on earth was it possible to do this work with the tools of the day?
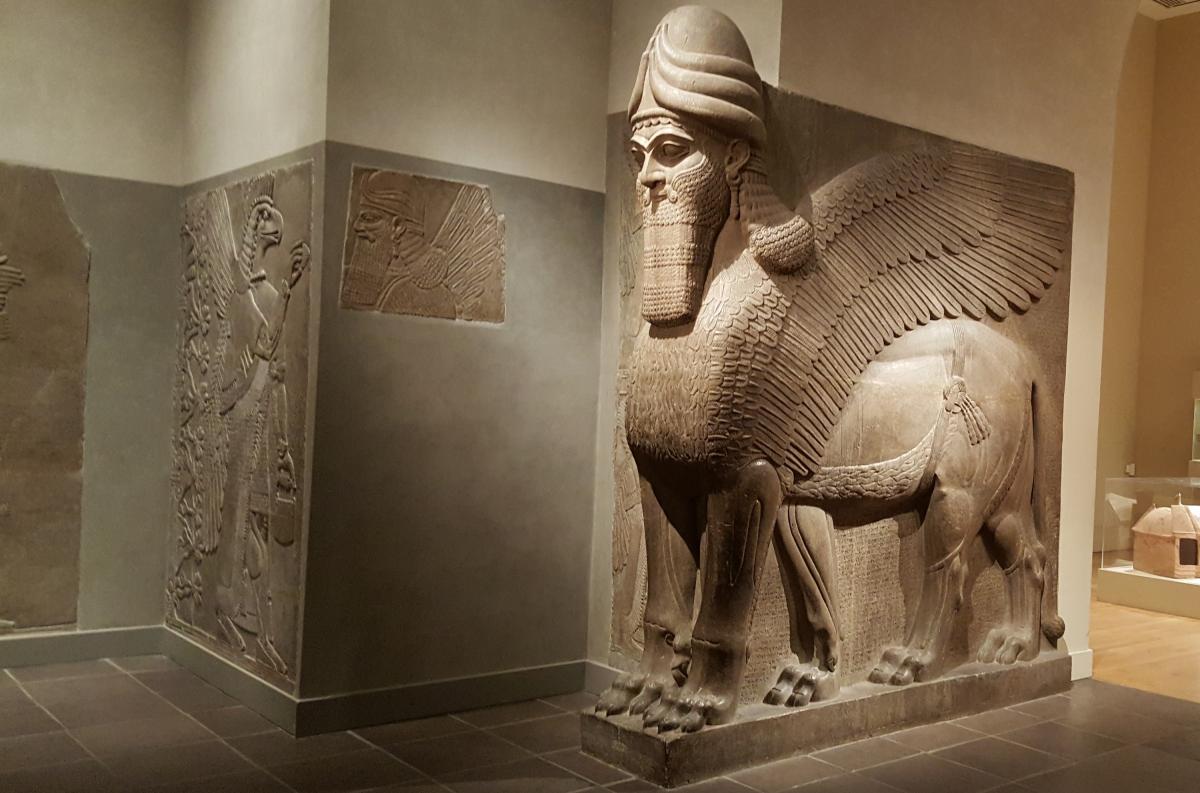
The relief carving above (now at the Metropolitan Museum of Art) comes from the castle of King Ashurnasirpal of Assyria and is almost 3000 years old. The gypsum alabaster stonework is precise, smooth, masterful and most certainly done without steel tools. The creators would have used bronze and some iron tools and lots of abrasive sand.
The issue turns out not to be that these early tools didn't work. Even working in copper and bronze you can hammer harden an edge and then use honing stones to get a sharp edge. The edge will work fine. What you can't do is work for a long time with that edge. It just doesn't last.
What was the solution?
Before steel and tungsten, stone masons would use a tool for a short time and then have it reforged sharp. You needed a steady supply of extra tools and a blacksmith close by to get anything done. Also essential: an assistant to ferry the tools back and forth so that you did not have to stop the flow of work.
Here's a question for you. If you are milling wood by hand, and you have a brilliantly sharp blade made from common carbon steel (O-1), how long would the blade last before you notice it's getting harder to push and might be starting to get dull? Same question for A2 or D2. I am going to suggest that the O-1 will be noticeably dull in 10 minutes; the A2 and D2 in double or triple that. (YMMV.) Since most of the time we need to plane for longer than that, we really have the exact same problem the ancient or medieval stone mason had. Tools get dull before the job is done.
Stopping work to sharpen is a drag. The whole work flow gets interrupted. Even worse, the tendency is to push the slightly dull plane blade until it is really dull and starts to tear out. Sawing takes longer. In the case of chisel usage, the chisel slips instead of cuts.
The simplest modern solution is exactly the same as the medieval or bronze age solution. Before the days of the Skilsaw, house carpenters had a till of saws -- both for the optimal match of saw to task and to have spares to grab when the first used saw grew dull. This solution applies very much to the modern shop. When I do any serious planing, the first thing I do is sharpen up all the plane irons I have. They don't all have to be brilliant or fancy, but they do have to work. I have a pile of extra blades of various provenance, plus I pull all the blades I can from similar sized planes. (#4, #5) (#4-1/2, #5-1/2, #6, #7) and get them ready. I also try to have as many as possible matched with a cap iron, although I don't have as many cap irons as I do blades. I go to town and the second I feel the blade getting dull, I swap it out. This way, I barely lose momentum and the work gets done. I think psychologically even if you have an iron that holds up for a long time, being able to swap it out for something sharp really reduces the chance of bad behavior and pushing a dull blade towards the end of the job.
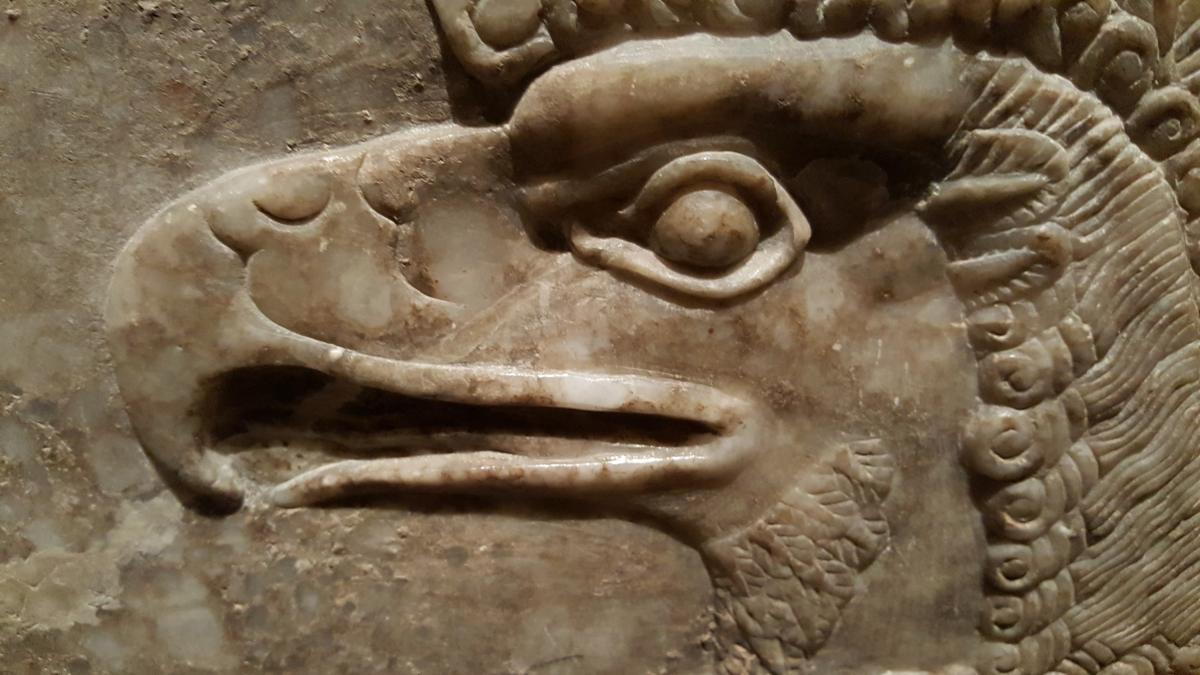
Detail of one of the castle carvings
We spend a lot of time today testing tools to find which keeps the longest edge. There are trade-offs in ease of sharpening, perceived sharpness, and cost. But in general, reviewers favor longer lasting edges made with alloys such as A2, D2 and PMV11, to name a few. Japanese woodworking tools have a reputation for considerable forging and correct hardening, which results in very long edge retention. But "longer edge retention" doesn't mean forever. I suggest that the next time you do some planing, have a spare iron ready to swap in. I think it will make your experience better.
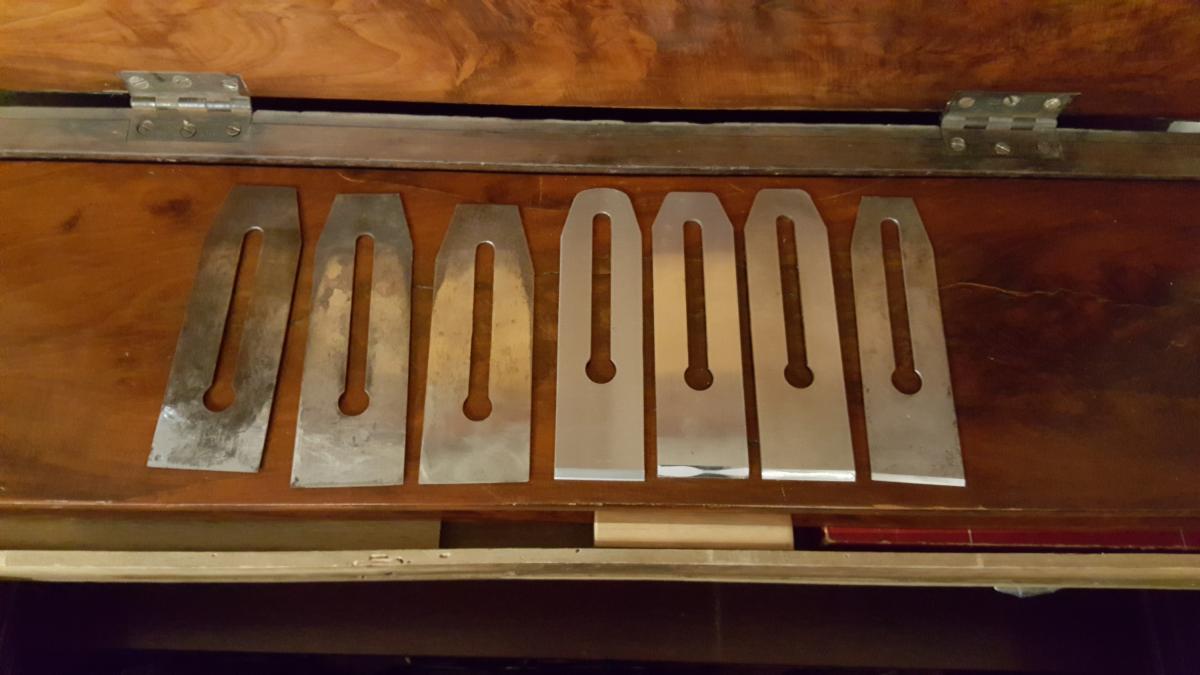
My random assortment of spare irons. I didn't pull out the irons and cap irons already in planes for the photo
Join the conversation
01/30/2019 John Fink
Great post. I really enjoy the “history of technology” information. Thanks.
01/30/2019 Bob Groh
Agree with John Fink - great post. Very interesting and relevant!
01/30/2019 Daniel Everett
You are so correct! I should have some extra sharpened blades for that very reason.
Equally interesting, imho, is the resultant step: the thematization of form is based on the reach of the worker, which is determined by the tools at hand. The Assyrian carving thematizes broad generalized over-stated forms, covered in places with easily-read, mostly symbolic, ornamentation. Almost all the woodwork I see proudly displayed today features machine-like precision in joinery. We are thematizing an exactitude that is within our reach. It was not always so. Imho, it is now rare to see work that has any complete major form. The Assyrian work speaks volumes; our work mostly accretes details and minor forms.
I think one is better than the other; more importantly: the two needn't be exclusive. One of the most perplexing issues today's makers face is the vast mastery of materials, tools, and their use that is at their disposal. Assyrian makers woke up to a world in which forms cost a lot to make. We don't. Assyrian makers crafted a whole language based on simple forms overly-expressed and simply ornamented. It was the best they could do with their tools. Our challenge is more puzzling.
01/30/2019 AH
Yes, great post. Great reminders. Great advice.
01/30/2019 Patrick Harrington
Hi Joel, I always enjoy your blog posts. My own personal preference is to sharpen as my blade gets dull. I've tried sharpening a few spares to have handy, but I find that I actually enjoy the sharpening if I don't have to do it for very long, and I dread it if I have to spend very long at it. I also usually appreciate the break that sharpening offers. It only takes me about 2 or 3 minutes to sharpen my PMV11 #6 plane blade, which is the one that takes me the longest, and about 4 or 5 minutes from the time I stop to sharpen until I am working again. The change of pace works well for me. I've also tried sharpening every tool I've used at the end of each day, but that only lasted a few days before I gave it up. Now I just sharpen as needed, though I do have some spare handsaws, since they take a bit longer to touch up.
Later,
Patrick
01/30/2019 Jeff Simpson
Stropping. I can't believe how much longer I can go between sharpenings since I learned to strop: https://www.youtube.com/watch?v=ezwU5FO4GDg
01/30/2019 Richard Cohn
I don't disagree with what your suggestion, but I would point out that a quick stropping will extend the use of the edge for quite a bit. I took classes with Phil Lowe and Will Neptune and both said they hollow grind, so they can take the blade out quickly, give it a few strops by hand and then get back to work (both had the same shop teacher). I have tried this and never looked back. If the strip isn't quite doing its job, I have a strip charged with very fine compound for sharpening straight razors. Your strops look great and I have been planning on buying one. Great blog btw
Hey Joel---keep up the insightful comments on tools--and REALITY. Yes, carving those large, *detailed* statues w/ "soft" chisels must've taken ages. It confirms my suspicion that I now need at least two apprentices in my shop :-)
01/30/2019 George Oliver
Insightful post Joel, and it squares with the basic efficiency in joinery (well not just joinery I suppose) of grouping your work.
01/31/2019 SEAN BARRY
Bamboo fly rod makers have long used (and mastered) the "spare blades" approach, which is necessary because bamboo is hard on plane irons and planing 18 strips for a typical two-piece rod with extra tip section, although tedious, is best done in a single session with few if any breaks from the routine. Also, as each of the six triangular strips per rod section approaches its final taper, planing has to be extremely precise and a single tear out will destroy the entire project. The plane of choice for this work is the Stanley 9 1/2 block plane, almost always with a Hock blade (some use the Lie-Nielsen equivalent which has been discontinued, and most rodmakers really haven't embraced the 60 1/2 low angle plane). Most rodmakers own several identical Stanley planes with Hock blades, all sharpened and ready to go. The more planes you own, the steadier the work. Sharpening has also been reduced to a simple routine--many if not most rodmakers use the General Tools 809 "honing guide" which they set up with a stacked plywood "step" that guarantees the correct angle. They use a King KW65 two sided water stone (1000/6000 grit) and get an absolute razor edge with little effort. BTW, as the planing nears completion for each strip, it gets tricky and easy to overdo, so most makers reserve a special block plane and Lie Nielsen 212 scraper for that part of the operation--the "special" is that a lengthwise 1" wide x .003" "groove" has been milled into the plane and scraper soles so that the blade does not contact the steel planing form. Lie Nielsen offers its 60 1/2 block plane and 212 scraper with the optional rodmaker's groove, and many rodmakers have had the groove milled into the Stanley as well.
02/01/2019 Joseph
Thank you for your article. I have embraced a similar approch in which I have an array of planes at the ready. I have two scrub/fore planes (one I made, the other a converted No 4) for the initial bulk wood removal. Then for general work I have two planes (No 5 and No 4-1/2) which do bulk of work. Then, I have a No 3 which does the last few smoothing storkes.
As for sharpening, I have listened to and embraced the way Paul Sellers does it (though I use a jig for the proper angle).
02/01/2019 Michael J Price
Thank you for a great idea, WHY DIDN'T I THINK OF THAT!!!!
Michael
02/04/2019 Stanley Powers
Pretty much sharpen my smoothers before every use. General use planes when needed. Chisels before each use. I made a power strop (leather)for my drill press and use the white compound. Unless edge is damaged, stropping is what I do. Can bring to razor sharpness in a matter of seconds, a minute or two at the most... KEEP THEM SHARP IS EASIER THAN GET THEM SHARP!


 Joel's Blog
 Built-It Blog
 Video Roundup
 Classes & Events
 Work Magazine
I think one is better than the other; more importantly: the two needn't be exclusive. One of the most perplexing issues today's makers face is the vast mastery of materials, tools, and their use that is at their disposal. Assyrian makers woke up to a world in which forms cost a lot to make. We don't. Assyrian makers crafted a whole language based on simple forms overly-expressed and simply ornamented. It was the best they could do with their tools. Our challenge is more puzzling.
Later,
Patrick
As for sharpening, I have listened to and embraced the way Paul Sellers does it (though I use a jig for the proper angle).
Michael